The essentials
- CACT's guide recommends the geyser area, the natural oven, the Devil figure and the Route of the Volcanoes.[1]
- Exploring the park freely by car or on foot is not permitted; the Route of the Volcanoes runs by coach.[1][3]
- The park's visit rules list drones among activities to avoid, and Spanish law bans overflight below 3,000 metres without authorisation.[7][8]
- Professional photography, video, film and TV work in the park needs a special permit from its offices.[9]
- Cueva de los Verdes is a guided walk of about one kilometre; Jameos del Agua opens onto a garden and white pool.[15][18]
- Top choice Timanfaya, Jameos & Cueva from US$102 Duration9 hours[20]Shooting anglePark plus Cueva and Jameos interiors[20]Rating4.47 from 2,662 reviews[20] Check availability
- Timanfaya volcanic hike from US$51 Duration3 hours[21]Shooting angleOn foot, group of up to 10[21]Rating4.80 from 1,450 reviews[21] See this tour
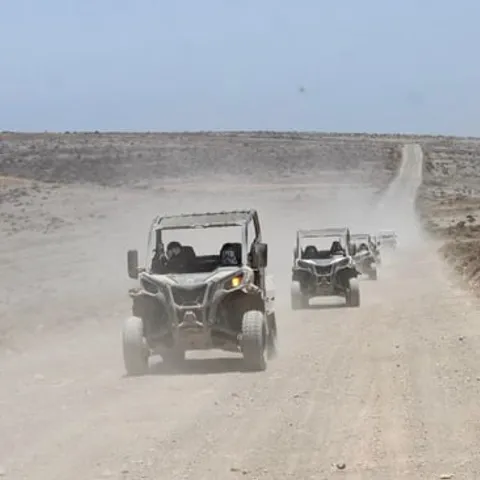
- Off-road volcano buggy from US$173 Duration2-3 hours[22]Shooting angleFrom an off-road buggy, up to 10[22]Rating4.67 from 5,246 reviews[22] See this tour
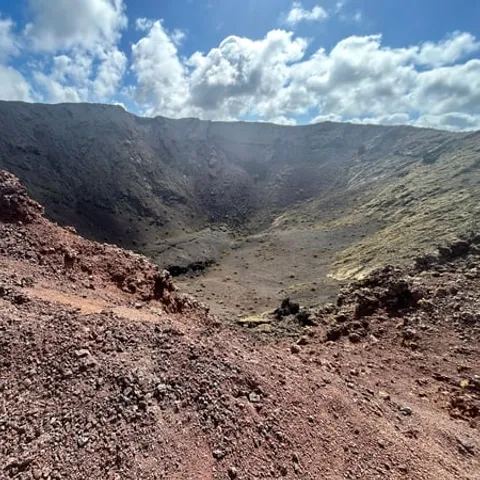
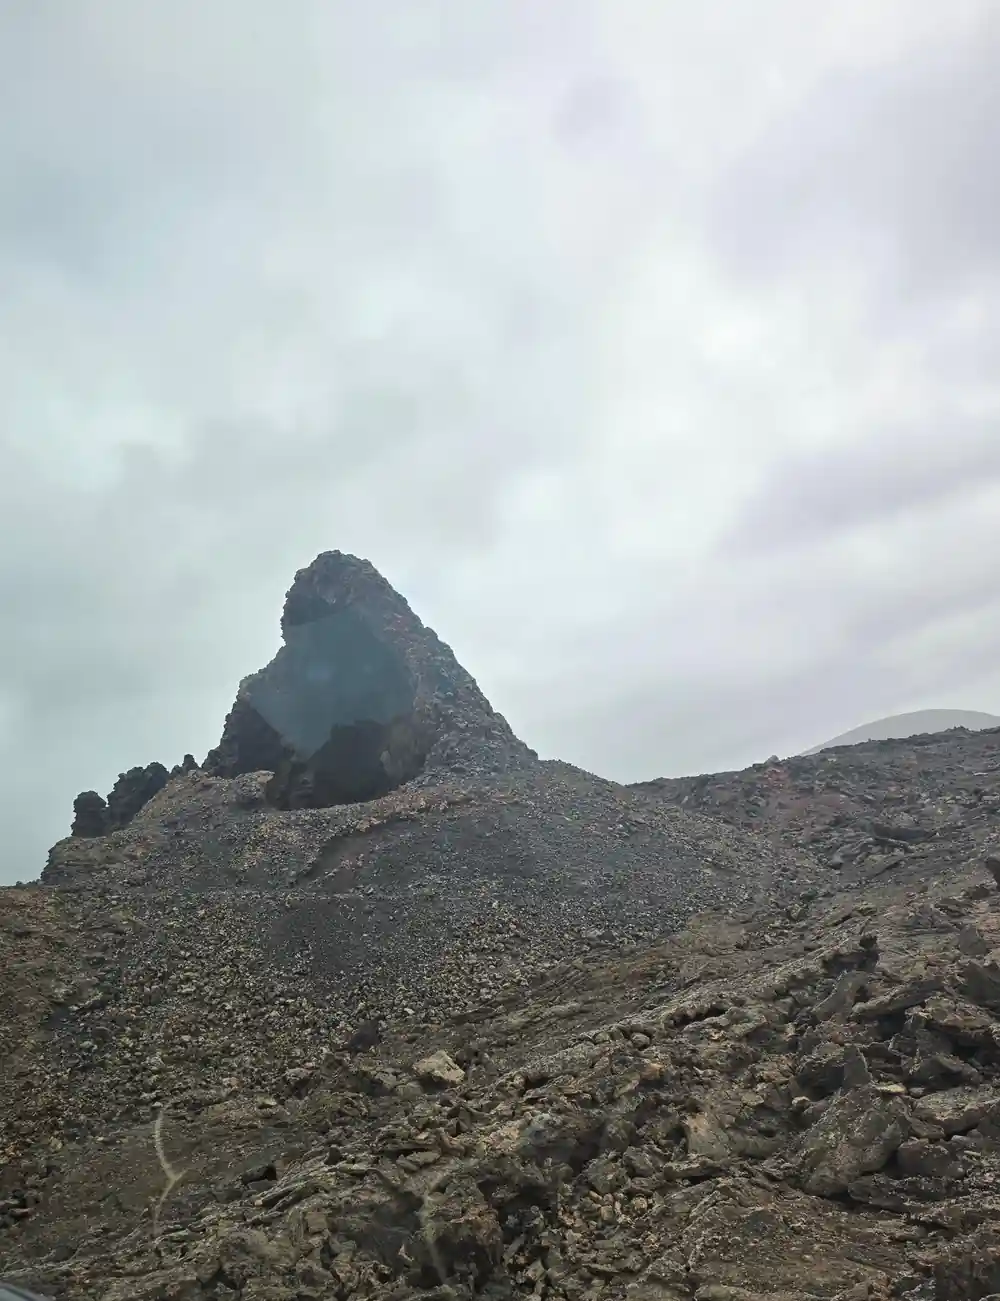
Craters, lava flows and lunar-like landscapes reflect the heat of the earth
Coach window, hiking trail or buggy seat
Camera rules
What CACT recommends you photograph
CACT's own visitor guide for Montañas del Fuego names four subjects worth photographing: the geyser area, the natural oven, the Devil figure and the Route of the Volcanoes.[1] It describes the setting as craters, lava flows and lunar-like landscapes that reflect the heat of the earth.[1]
From Islote de Hilario, CACT says the view opens onto a sea of lava with more than 25 craters concentrated in just a few square kilometres.[1] The demonstrations there give you moving subjects: IGME describes an artificial geyser made by pouring cold water into boreholes, and plants placed in a hole to show them catch fire.[2]
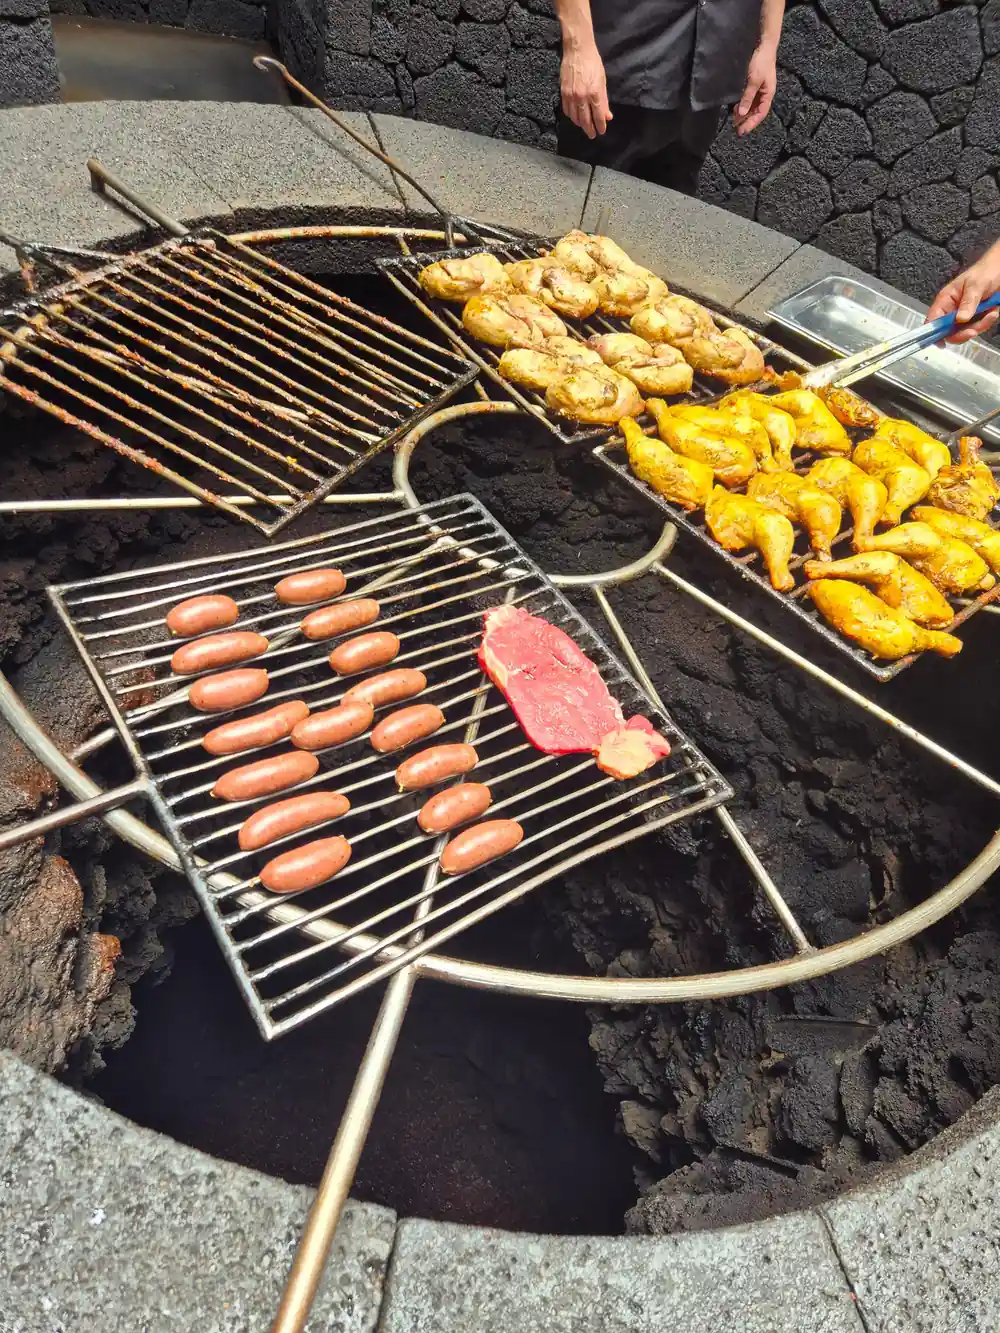
At El Diablo restaurant, the dining room conceived by César Manrique looks out over the malpaís lava field through a large circular glass wall.[1] Its grill sits above a five-metre well where the earth's natural temperature reaches around 250 degrees.[1]
Shooting the Route of the Volcanoes from the coach
Timanfaya's interior has its own rules for visitors. CACT states that exploring Timanfaya National Park freely by car or on foot is not permitted, to protect its fragile ecosystem.[3] The Route of the Volcanoes coach tour, conceived by César Manrique, comes with an audio narrative that invites you to read the landscape, and CACT's guide notes it has adapted coaches.[1]
Official figures for the coach route differ. CACT's ticket page lists a 35-minute coach route, while its FAQ says buses depart every 20 minutes and the tour lasts approximately 40 minutes.[1][3] The Canary Islands park authority gives 12 km and 45 minutes on a circular route between 251 m and 453 m of altitude, and CACT's own description calls it a route of around 14 kilometres.[1][4]
On the route, the Valle de la Tranquilidad is named after the Moon's Sea of Tranquility, where Apollo 11 landed.[1] MITECO describes the park's lava textures: rough, jagged aa lava that forms the impassable surface called malpaís, and smoother pahoehoe lava that can twist into ropy cordadas.[5] The park authority adds that cinder cones are not always symmetrical, because the angle of the vent or the wind can pile the material up in one direction.[6] MITECO names the Manto de la Virgen as the park's most characteristic hornito, a secondary vent that expelled lava and gas without building a large volcano.[5]
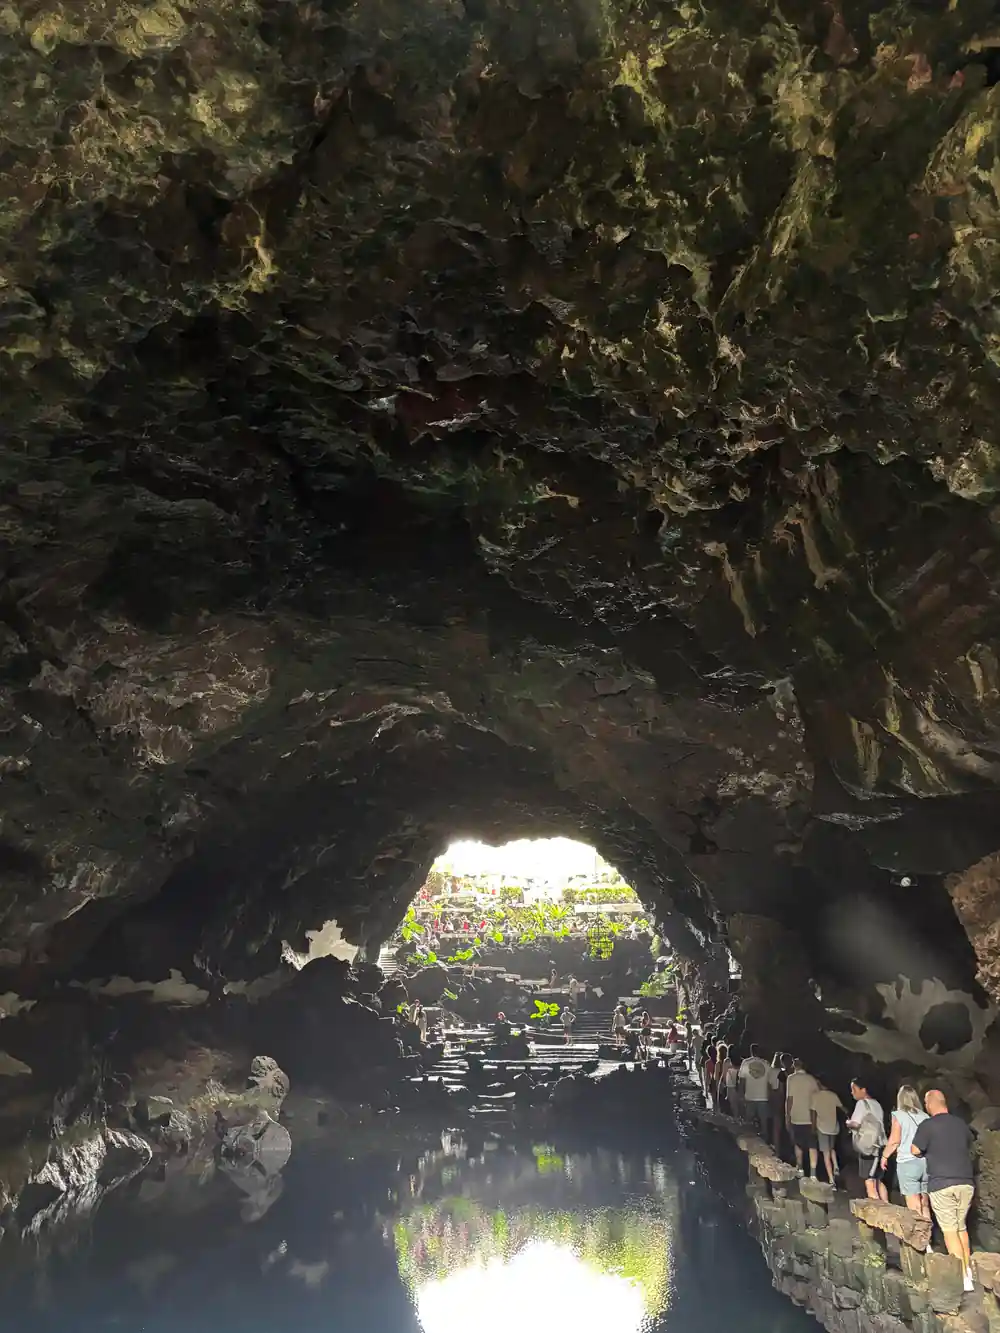
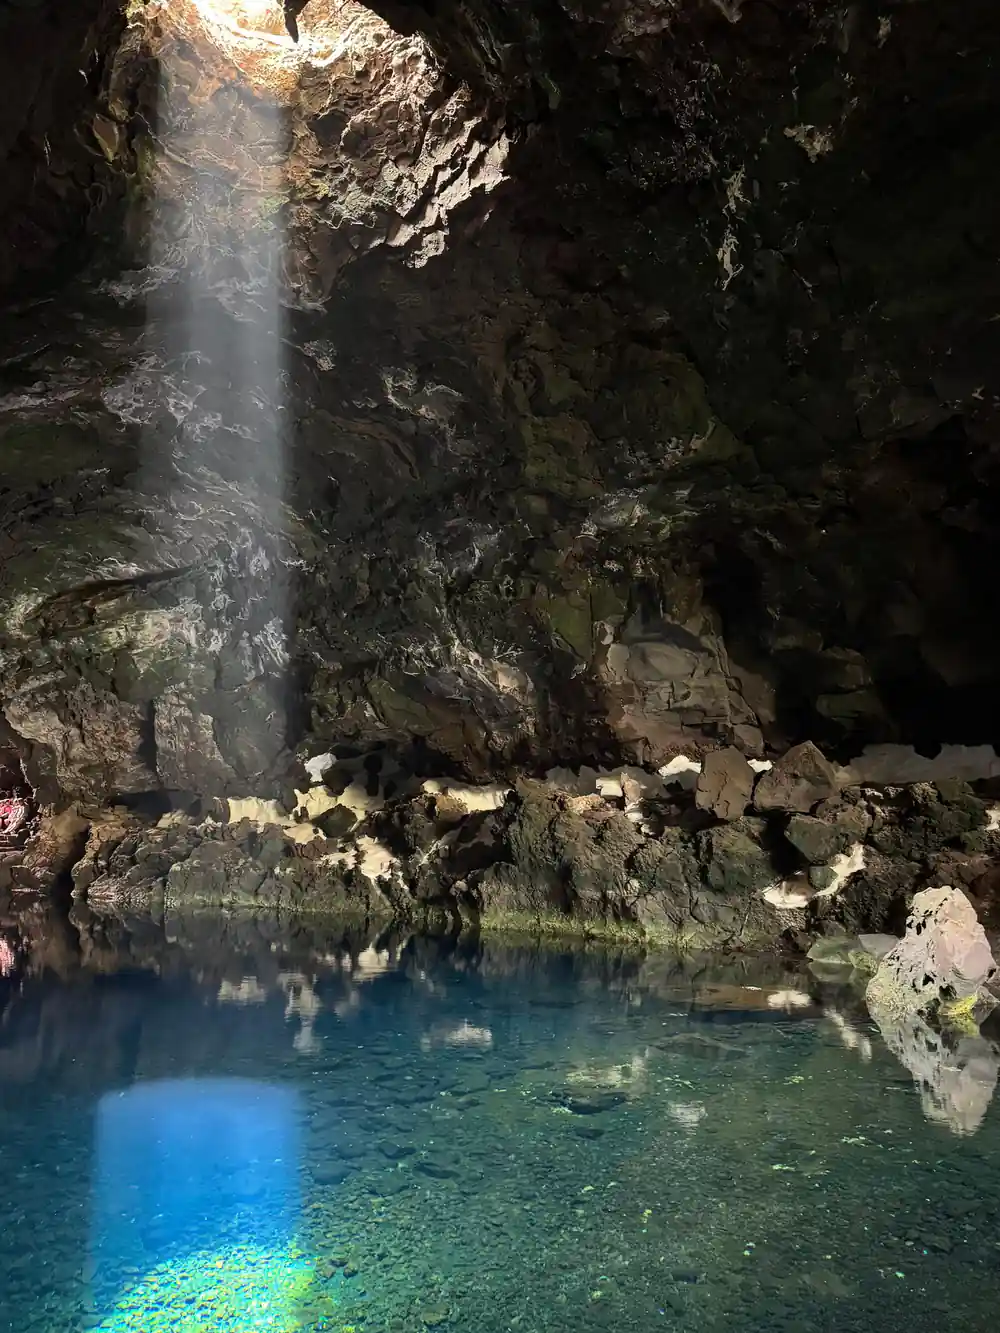
Light falls through a jameo into the lava tube below
Drones, permits and the rules for cameras
Drones are on the park authority's list of activities to avoid, alongside hang-gliders, parachutes, kites, balloons and fireworks, to protect wildlife and the environment.[7] Spanish law, in Ley 30/2014, also bans overflight below 3,000 metres above the ground over national parks without express authorisation or force majeure.[8]
Inside the park, professional photography, video, film or TV work needs a special permit, requested at the National Park's own offices, according to MITECO.[9] The same rules forbid collecting plants, animals or rocks of any kind or size.[9]
On the drive in, CACT asks you to remain inside the vehicle from El Taro to the car park on the Islote de Hilario, to preserve the park.[1] Turismo Lanzarote's advice is that it is not possible to walk over the lava or on other volcanic material.[10] In the Islote de Hilario car park, take care opening car doors, as the slope may cause them to hit other vehicles.[1]
Sun, wind and the time of your visit
Turismo Lanzarote's visitor listing names 1:00 p.m. as the recommended time to visit Montañas del Fuego.[10] Opening hours differ between official pages: CACT gives 09:30 to 15:45, Turismo Lanzarote 09:00 a.m. to 04:45 p.m., and MITECO 9:00 to 17:00.[1][11][12]
Turismo Lanzarote says the sun shines on the island for practically the whole year, with scarce rainfall.[13] AEMET's climate normals for Lanzarote Airport record an average of 2,986 sunshine hours and 72.5 cloudless days a year.[14] CACT recommends a cap or sun protection in summer, between June and September, and warm clothing between October and April, as the site is windy.[1]
Timed tickets set your schedule too. CACT asks you to arrive 15 minutes before your booked time, there are no waiting areas if you arrive early, and a ticket is no longer valid if you arrive outside your slot.[3]
25+ craters
The view from Islote de Hilario opens onto a sea of lava with more than 25 craters in a few square kilometres, per CACT.[1]
Inside Cueva de los Verdes
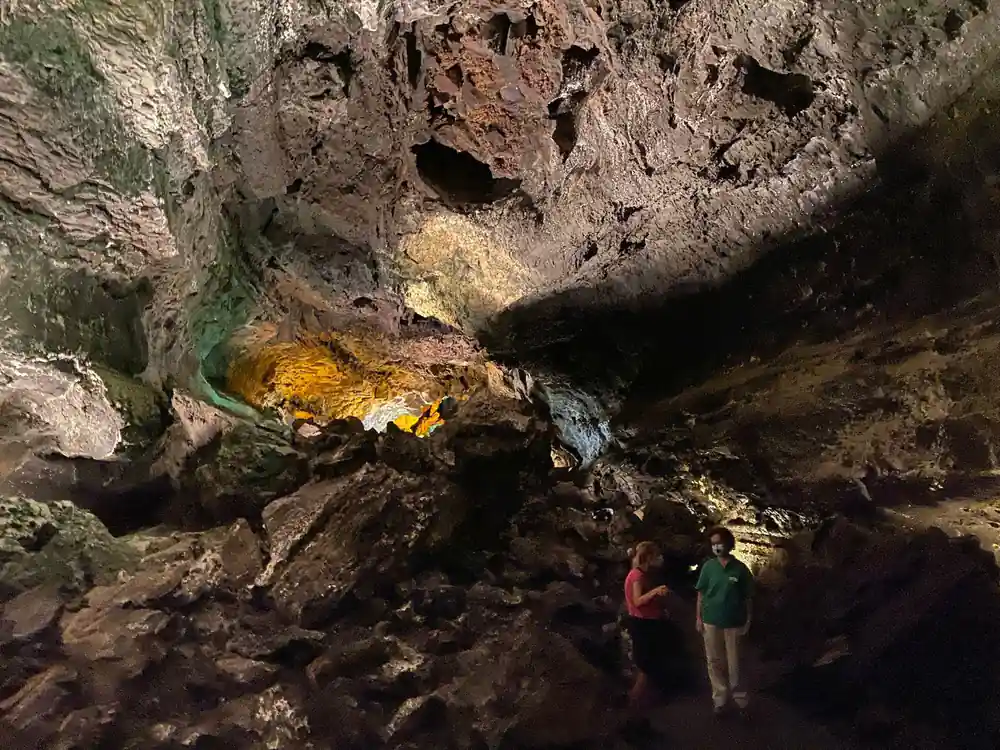
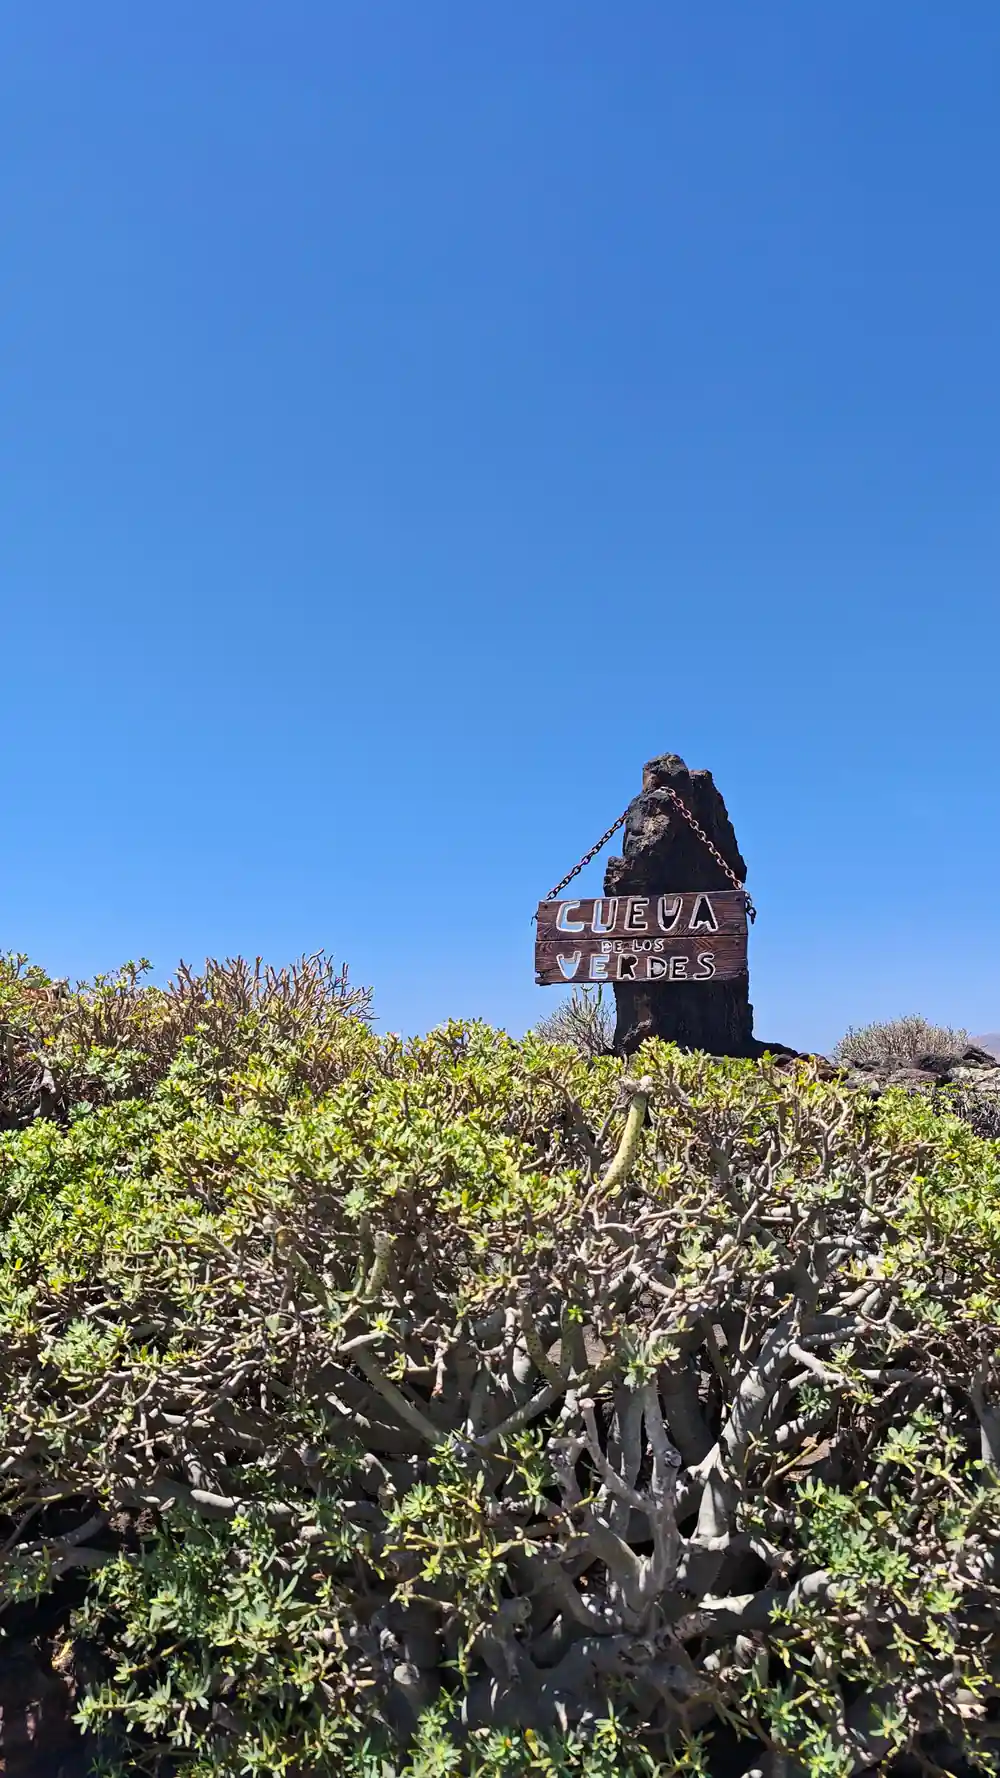
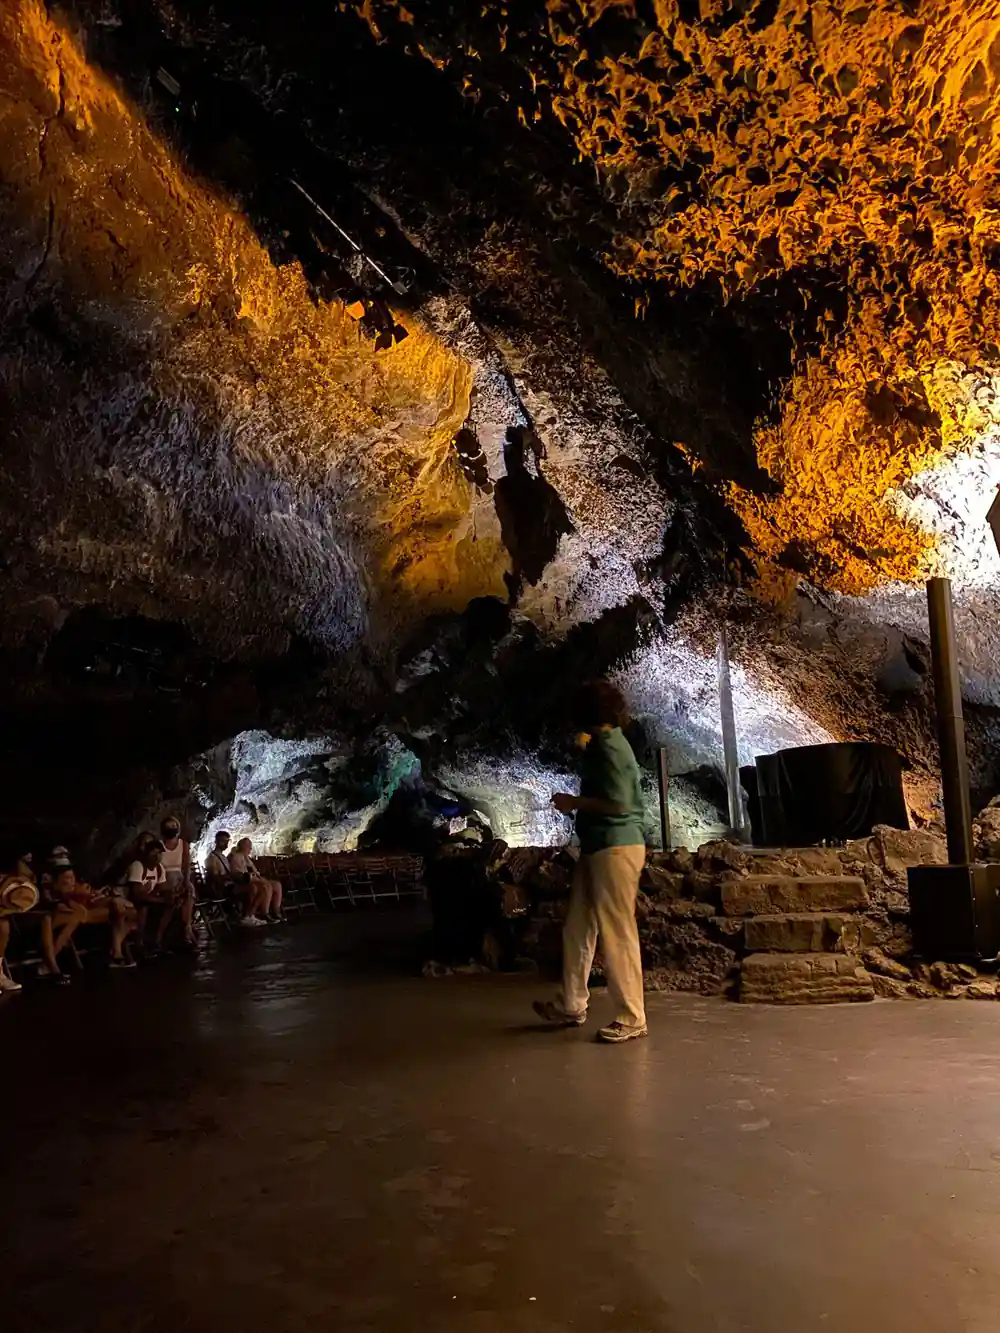
Cueva de los Verdes is a guided visit in Spanish and English, through an atmosphere designed by artist Jesús Soto and passing through the Auditorium.[15] CACT describes a hollow conduit extending for more than seven kilometres, of which visitors walk about one kilometre, on a visit of about 50 minutes between 09:30 and 16:45.[15]
IGME highlights the cave for the morphological structures visible inside the tube and for its mineralisations, and describes the wider tube as passages and superimposed galleries with vaults of up to 20 by 20 m and small interior lagoons.[16] Plan your kit around the route: CACT warns of uneven paths, stairs, narrow spaces and low ceilings, and says the cave is not recommended for people with claustrophobia.[15]
A fixed date and time must be booked online for Cueva de los Verdes.[17] During the 16th and 17th centuries, local people used these galleries as a refuge from pirate raids from North Africa.[15]
Jameos del Agua: the pool, the lake and the crabs
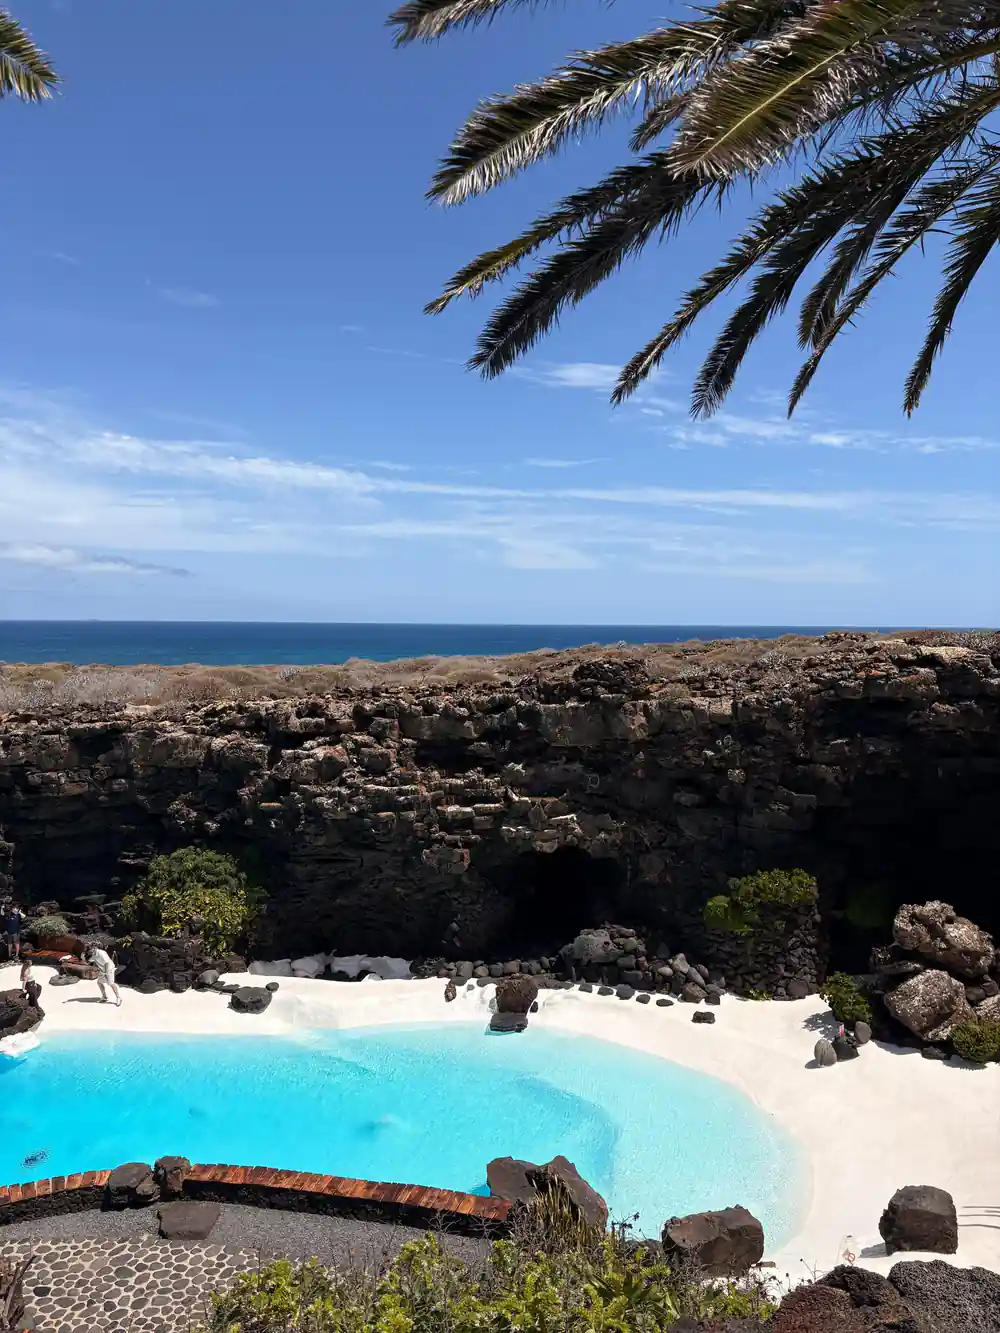
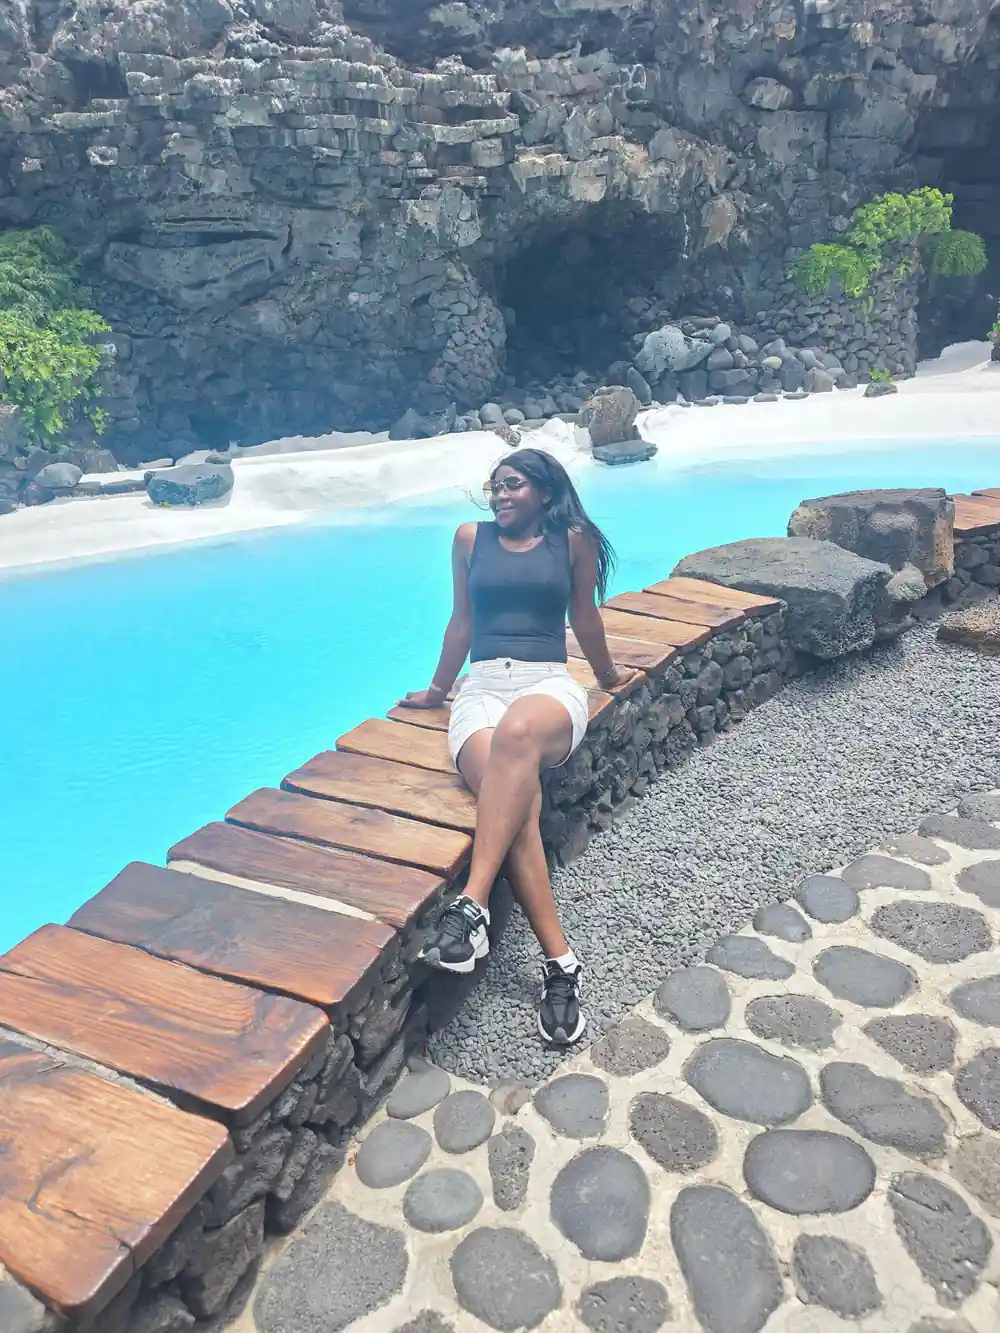
At Jameos del Agua, the darkness of the cave opens onto an outdoor garden with palm trees, fig trees and cacti. CACT points to the white pool and the leaning palm tree as showing how the design adapts to the basalt.[18] The general ticket covers the descent through the Jameo Chico, the lake of the blind crabs, the Jameo Grande and the Auditorium.[18]
In the lake, the small white dots on the bottom are Munidopsis polymorpha, an endemic species adapted to darkness, and CACT asks visitors not to throw coins or objects into the water.[18] The lake forms from seawater filtering through fissures in the tube, and its level follows the tides.[18]
Jameos del Agua is open 10:00 to 18:00 every day, with last admission at 17:15.[18] On Noches de Jameos evenings it stays open until midnight, and the self-guided visit takes about an hour.[19]
Choosing a tour for your photos
The GetYourGuide tour booked from this site covers all three camera stops in one day: Timanfaya National Park, Cueva de los Verdes and Jameos del Agua, over 9 hours with pickup, skip-the-line entry and a live guide.[20] The park's visit rules ask everyone to travel the interior only on authorised roads and paths.[7]
Two other GetYourGuide listings give a different angle. The hike across Timanfaya's volcanic landscapes runs 3 hours, limited to 10 participants, from US$51.[21] The guided off-road volcano buggy tour runs 2 to 3 hours, also limited to 10 participants, from US$173.[22]
The Mancha Blanca visitor centre has an elevated walkway over lava flows that reached farmland during the 1730-36 eruptions.[23] Turismo Lanzarote states the centre gives free access to its exhibition and audiovisual programme.[10]
Visit length CACT gives for each site, in minutes
Visit durations as CACT lists them; Jameos del Agua is given as 60 to 120 minutes and shown at its upper end.[1][15][18]
Price a photo-friendly Timanfaya tour
Each amount is that listing's own "from" price in US dollars, and the calculator applies the same listed figure to every traveller.[20][21][22]
Times to plan your shots around
Shooting the three stops
Frame the craters from Islote de Hilario
The view opens onto a sea of lava with more than 25 craters.[1]
Catch the geyser demonstration
CACT recommends photographing the geyser area and the natural oven.[1]
Shoot from the coach window
The Route of the Volcanoes coach route comes with an audio narrative about the landscape.[1]
Walk the Cueva de los Verdes route
Visitors walk about one kilometre past uneven paths, stairs and low ceilings.[15]
Frame the Jameo Grande pool
The garden holds palm trees, fig trees and cacti around a white pool.[18]
Look for white dots in the lake
They are Munidopsis polymorpha, an endemic crab adapted to darkness.[18]
Photograph the craters and both lava caves on one guided day
from US$103Reserve now & pay later